Hi all! Welcome back! As promised, today I’m sharing the winner of the Silhouette Cameo giveaway I shared last week! Congrats, Gina K.! Check your email to claim your prize! I can’t wait to see what fun things you do with your new toy!
I also promised that I would share an exclusive BLACK FRIDAY discount code for some really great deals happening over at Silhouette America. If you didn’t win the giveaway and are hoping for a Silhouette Cameo or Portrait of your own, you most likely won’t see deals like this again! You could even buy a Silhouette Cameo for yourself and get a whole big bundle of stuff free, including a Silhouette Portrait! One machine for you, one for gift giving! How great is that? Head over to Silhouette America before December 8th to take advantage of these GREAT deals! Make sure to use coupon code DINE at checkout to receive your discount!
–> Click HERE to take advantage of this great black Friday sale <–
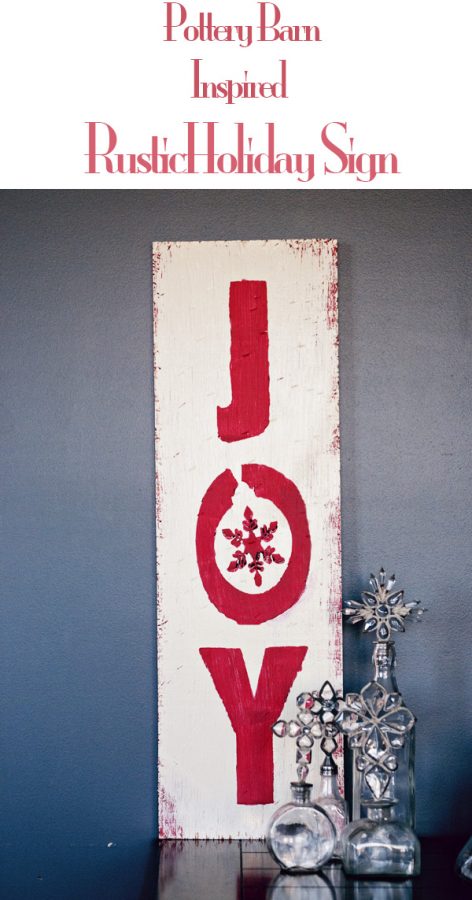
I’m also really proud of this Pottery Barn Inspired Rustic Holiday sign my friend Heatherand I made using the Silhouette Cameo! I did the painting (detailed below) and Heather took care of creating a festive stencil on the Cameo. Head over to Heather’s blog for complete details on how she made the template to use for our sign. I am really proud of how they turned out! And compared to the $129 price tag from Pottery Barn I’ll take our roughly $50 sign any day!
Quick rundown on the painting process for these signs:
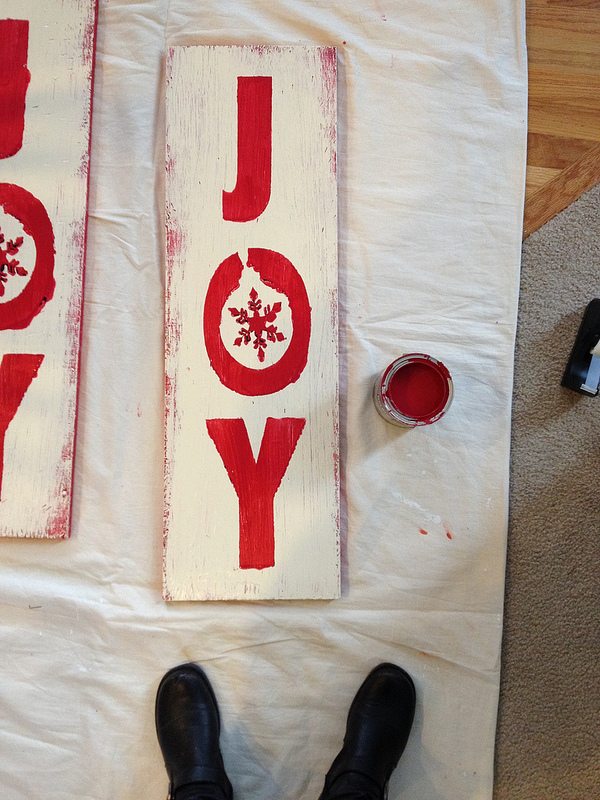
- Wood is 3 foot by 1 foot. Paint colors are Behr Ruby Ring in Flat Matte Ultra (has the primer in it) and Behr Cornerstone in Satin Gloss.
- I “beat up” the wood with the end of a hammer, distressing the edges of the wood and adding some character marks to the flat surface of the wood.
- I painted the red first using a large brush. Once dried, I used a hard brush for the Corner Stone color… the bristles weren’t as soft, so allowed the red to still come through in spots (giving it that more rustic look). I did 2 coats of Cornerstone versus one coat of Ruby Ring.
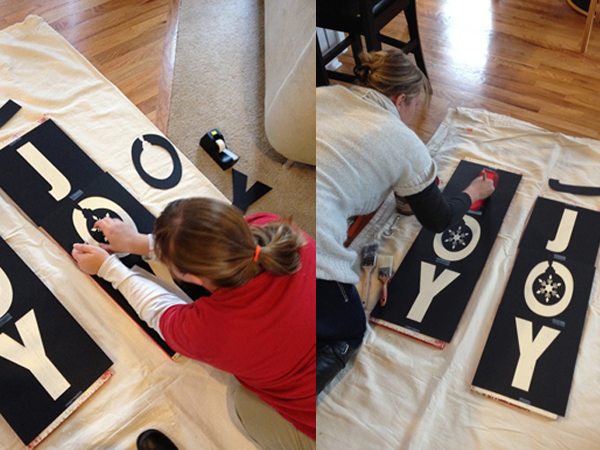
- Head over to Scraps by Heather for full details on the creation of the JOY stencil using the Silhouette Cameo
- We then lined up the JOY Stencil on the painted wood and taped it in place. We went over the stencil with the Ruby Ring paint (1 full coat and a soft brush).
–> Click HERE for Heather’s Full Video Tutorial on how we used the Silhouette Cameo for this project <–
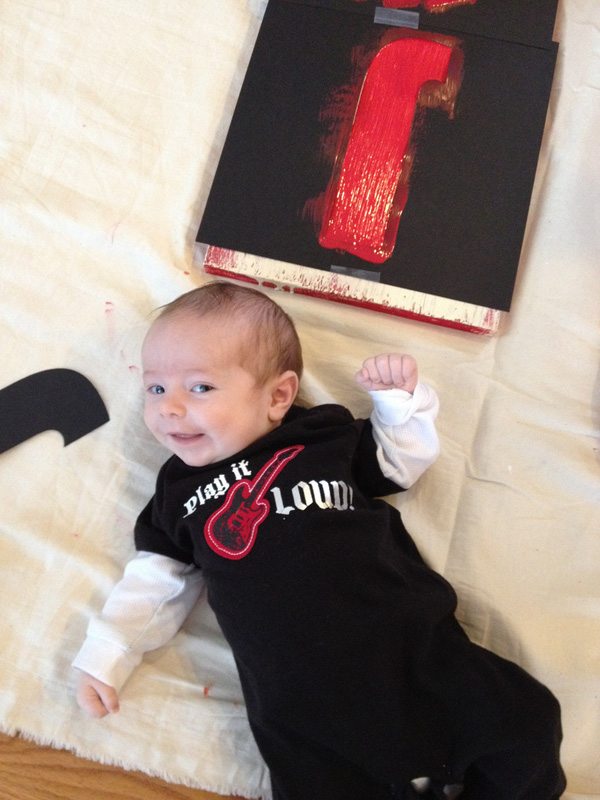
Heather is teaching me how to be crafty, and I kind of love it! Who knew that I would be able to create something using paint and wood that I am more than proud to hang in my home this holiday season? I’m pretty excited about it! Plus, working with Heather on these types of projects means I get to spend a lot more time with her assistant, Sam…
My baby fix, home decor, craftiness and getting to hang out with a friend all in one!
Let me know if you all have any questions about this project, and seriously… if you are on the fence about the Silhouette Cameo I say go for it and make sure to take advantage of the discounts they have going on right now! Use the code DINE at checkout and happy crafting!
Disclosure: I received promotional materials from Silhouette America to aid in writing my post. I also receive affiliate fees based on product sales. All opinions expressed are my own.








Congratulations, Gina!
Kristen, you may not be crafty, but you are certainly artistic. l think you are crafty!
I love how beautiful your sign turned out Kristen – pinned!
Awww – thanks so much, Trish!